

How to Set Up and Use Your First Hardware Wallet: A Step-by-Step Beginner Guide

Moving crypto from an exchange to a hardware wallet is an important step toward self-custody.
It also means accepting a new responsibility.
When an exchange holds your crypto, the exchange controls the private keys and provides the account-recovery process. When you use a hardware wallet, you control the keys—but you must also protect the wallet backup, verify every transaction, and understand how recovery works.
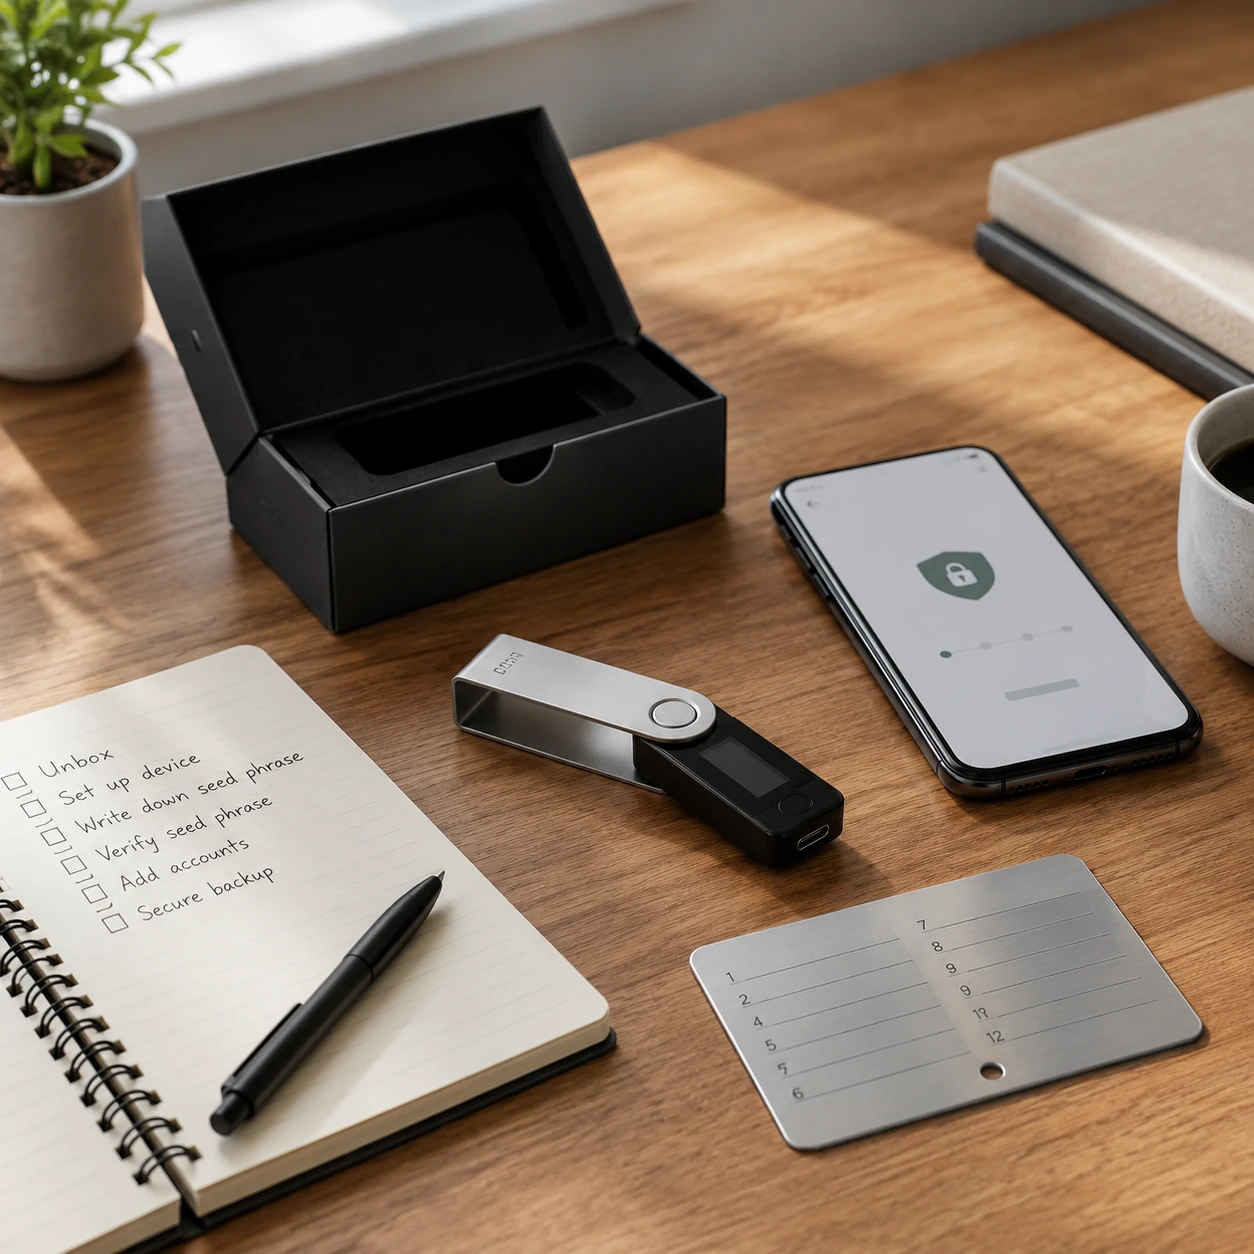
That may sound technical. In practice, the basic workflow is straightforward:
Buy a genuine hardware wallet.
Install the official wallet application.
Initialize the device as a new wallet.
Record and protect the recovery backup.
Add the crypto account you need.
Verify a receiving address on the device.
Send a small test withdrawal.
Confirm the transaction before transferring more.
This guide explains each step without assuming previous wallet experience.
Security rule: Never type your hardware wallet recovery phrase into a website, exchange, browser extension, support form, cloud document, or ordinary phone or computer application.
What Is a Hardware Wallet?
A hardware wallet is a physical device designed to generate, store, and use private keys in an isolated environment.
Your cryptocurrency does not sit physically inside the device. The balance exists on the relevant blockchain. The hardware wallet protects the private keys required to authorize transactions from the addresses you control.
When you send crypto, the wallet application prepares the transaction. The hardware device then displays important details and asks you to approve or reject the transaction.
This separation matters because the private key does not need to be exposed directly to the internet-connected computer or phone. Ledger describes its devices as keeping private keys and transaction signing isolated from potentially compromised computers and smartphones.
A hardware wallet can reduce private-key exposure, but it cannot protect you from every mistake. It cannot automatically stop you from:
Sending crypto to the wrong address
Choosing the wrong blockchain network
Approving a malicious smart contract
Revealing your recovery phrase
Buying a tampered device
Forgetting an optional passphrase
Losing every copy of your wallet backup
The device is one part of a complete self-custody process.
Hardware Wallet vs Exchange: What Changes?
Keeping crypto on an exchange is custodial storage.
The exchange normally manages:
Private keys
Account infrastructure
Password recovery
Withdrawal controls
Security monitoring
Access to the blockchain
A personal hardware wallet is non-custodial.
You become responsible for:
The device PIN
The wallet backup
Address verification
Network selection
Transaction approval
Long-term recovery
Inheritance planning
Self-custody removes dependence on the exchange’s continued access and withdrawal systems. It also removes the possibility of asking the exchange to reset your wallet if you lose both the device and its backup.
A hardware wallet is therefore not simply “an exchange account with more security.” It is a different custody model.
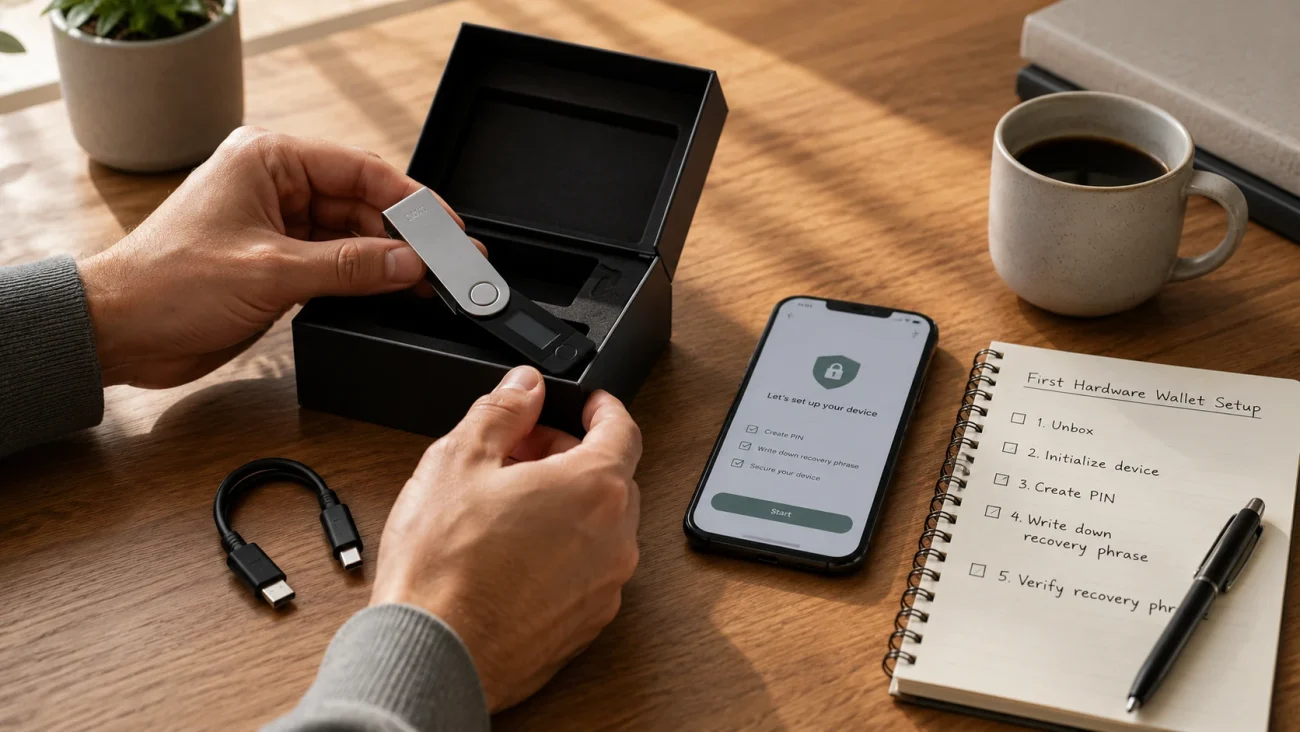
What Is the Best Beginner Hardware Wallet in 2026?
There is no single best device for every beginner.
The right choice depends on:
Your computer and phone
The crypto assets you use
Whether you need mobile access
Your preferred wallet application
Your budget
Your backup preferences
Whether you plan to use third-party wallet software
Two practical entry-level options are the Ledger Nano S Plus and Trezor Safe 3.
Ledger Nano S Plus
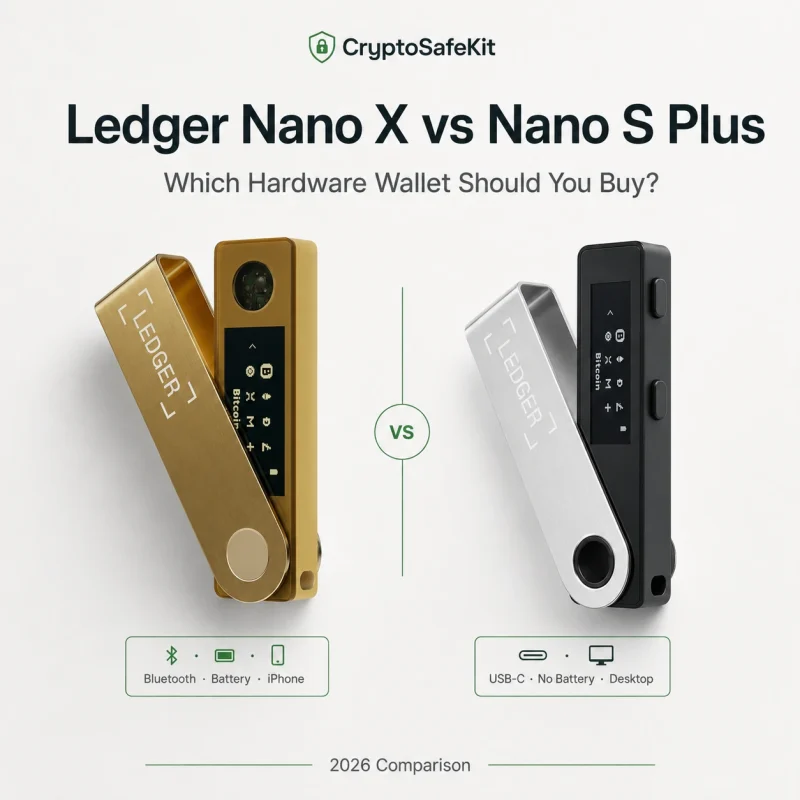
The Ledger Nano S Plus uses a USB-C connection and works with Ledger Wallet, formerly known as Ledger Live. It is intended primarily for desktop computers and compatible Android devices; Ledger states that the Nano S Plus does not connect directly to an iPhone. Its official setup process generates a new 24-word Secret Recovery Phrase when the device is initialized as a new wallet.
It may suit beginners who:
Prefer the Ledger Wallet interface
Mainly use a desktop computer
Do not require Bluetooth
Want to manage several supported blockchain accounts
Are comfortable using physical buttons for verification
Trezor Safe 3
The Trezor Safe 3 is configured through Trezor Suite. During setup, Trezor Suite installs firmware and performs an authenticity check using the device’s Secure Element before guiding the user through wallet creation, backup, and PIN configuration.
It may suit beginners who:
Prefer the Trezor Suite interface
Want a guided authenticity-check process
Mainly use a desktop computer
Prefer Trezor’s backup and recovery ecosystem
Plan to use compatible third-party Bitcoin or EVM interfaces later
Before purchasing either device, check the manufacturer’s current asset and platform compatibility. Support can change as wallet software, firmware, and blockchain integrations are updated.
Before Opening the Box
A secure setup starts before the device is powered on.
Prepare:
A private room without cameras
The official setup application
A reliable computer or compatible phone
The cable supplied with the wallet
The blank backup card supplied with the device
A pen with permanent, legible ink
Enough uninterrupted time to finish the setup
A temporary private place to record the backup
Avoid setting up the wallet:
In a café, office, hotel lobby, or airport
During a screen-sharing session
While someone else is watching
In front of a security camera
While streaming or recording
On a computer you suspect is infected
You should also decide where the backup will eventually be stored. Do not wait until the recovery words are exposed on the device screen to begin thinking about storage.
Step 1: Buy the Device from a Trusted Source
Purchase directly from the manufacturer or a clearly authorized seller.
When the package arrives, inspect it for:
Unexpected damage
Signs of resealing
Missing components
Unusual labels
A prewritten recovery phrase
A supplied PIN
Instructions asking you to visit an unfamiliar website
A new hardware wallet should generate its recovery information during your own setup.
Ledger specifically warns users not to use a Nano S Plus that arrives with a prewritten recovery phrase or PIN. Ledger does not supply either in advance.
Trezor advises users to inspect the packaging and seal, install official firmware, and complete the Safe 3 authenticity check through Trezor Suite.
Stop the setup and contact official support when:
The device already contains accounts
Recovery words are printed inside the box
The PIN is provided on a card
The application says the device is already initialized
The authenticity check fails
Packaging appears materially altered
Do not “test it anyway” with a small balance.
Step 2: Install the Official Wallet Application
Download the application through the manufacturer’s official website or verified app-store listing.
For the devices covered in this guide:
Ledger Nano S Plus uses Ledger Wallet
Trezor Safe 3 uses Trezor Suite
Avoid downloading wallet software from:
Search advertisements
Third-party download websites
Social media links
Telegram or Discord messages
Cloud-storage links
Unsolicited support emails
Fake wallet applications are commonly designed to request recovery phrases or replace receiving addresses.
The legitimate setup application should guide the hardware device through initialization without asking you to type the newly generated recovery words into the computer.
Step 3: Set Up the Device as a New Wallet
Most setup applications offer two general options:
Set up as a new wallet
Recover an existing wallet
For your first independent wallet, choose the option to create or set up a new wallet.
Do not choose recovery unless you already have an existing wallet backup that you deliberately want to restore.
During a new-wallet setup, the hardware device generates new secret information from which its accounts and addresses are derived.
The important distinction is where this information is created.
It should be generated by the hardware wallet during setup—not by a website, seller, exchange, or customer-support representative.
Ledger Nano S Plus Setup
Ledger Wallet will guide you through:
Connecting the device
Choosing Set up as new device
Creating a PIN
Generating a 24-word Secret Recovery Phrase
Confirming the words on the device
Completing Ledger’s security checks
Ledger describes the generated 24-word phrase as the backup of the private keys created by the Nano S Plus.
Trezor Safe 3 Setup
Trezor Suite guides users through:
Connecting the Safe 3
Installing current firmware
Authenticating the device
Creating a new wallet
Creating and recording the wallet backup
Setting a PIN
Activating the required assets
Trezor’s current Safe 3 setup process includes a Secure Element authenticity check after firmware installation.
Follow the backup format displayed by your device. Do not convert its words into another format or change the number of words based on a tutorial for a different wallet.
Step 4: Create a Strong Device PIN
The PIN protects the physical hardware wallet from unauthorized use.
It is not the same as the recovery phrase.
A person who steals the device may need the PIN to use it. A person who obtains the complete recovery phrase may be able to restore the wallet elsewhere without the original device or its PIN.
Choose a PIN that:
Is not an obvious sequence
Is not your birthday
Is not reused from a bank card
Cannot be guessed by someone who knows you
Can be entered accurately under pressure
Do not write the PIN directly on the hardware wallet.
Do not store it on the same card as the complete recovery phrase unless you have consciously accepted the risk of exposing both together.
The PIN protects the device. The wallet backup protects access when the device is lost, damaged, reset, or replaced.
Step 5: Record the Recovery Phrase Correctly
The recovery phrase—or wallet backup—is the most important part of the setup.
Write each word:
In the exact order shown
With clear spelling
Beside its correct number
Without abbreviations
Without taking a photograph
Without typing it into the computer
Without reading it aloud near a smart device
Confirm every word using the hardware wallet’s own verification process.
Do not rely on memory.
BIP39 Explained Simply
BIP39 is a specification for representing wallet-generating information as an ordered list of human-readable words.
In simplified terms:
The wallet generates secure random data.
That data is encoded as a sequence of words.
The ordered phrase is processed into a seed.
The wallet uses that seed to derive private keys and addresses.
The order is essential. The same words in a different order do not represent the same wallet.
BIP39 defines standard mnemonic lengths such as 12, 15, 18, 21, and 24 words. However, not every modern hardware wallet backup uses exactly the same standard or word count, so always follow the backup method generated by your specific device.
Never Do This with a Recovery Phrase
Do not:
Photograph it
Store it in cloud storage
Email it to yourself
Save it in phone notes
Paste it into a password document
Send it through a messaging application
Type it into a browser extension
Give it to Ledger, Trezor, an exchange, or CryptoSafeKit
Upload it to a “backup verification” website
No legitimate support representative needs the complete phrase to diagnose a connection, balance, firmware, or transaction problem.
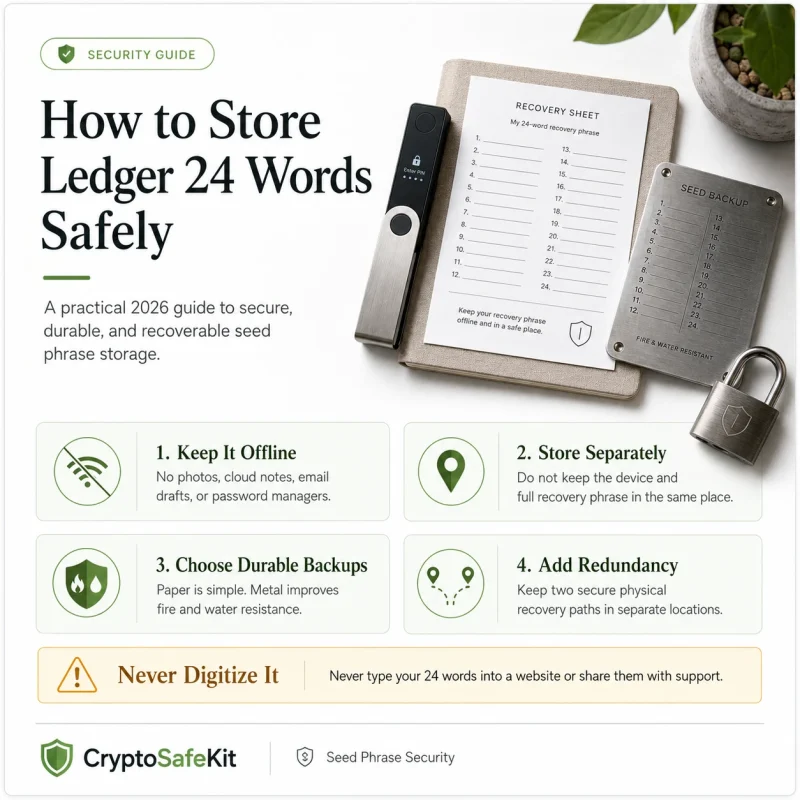
Consider a Durable Physical Backup
The paper card supplied with a hardware wallet can work when recorded correctly and stored in a controlled environment.
Paper remains vulnerable to:
Water
Fire
Humidity
Fading
Tearing
Accidental disposal
A metal backup can improve resistance to certain environmental and long-term storage risks. The material does not protect against theft or unauthorized reading, so physical access control still matters. Trezor’s backup guidance recommends evaluating environmental, physical, and remote risks rather than assuming one storage method fits everyone.
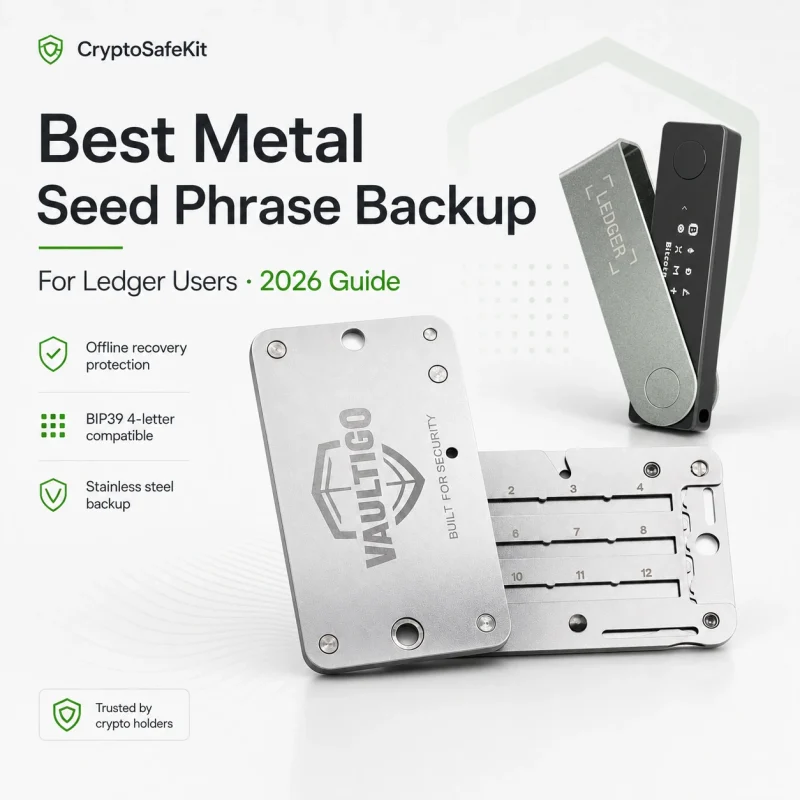
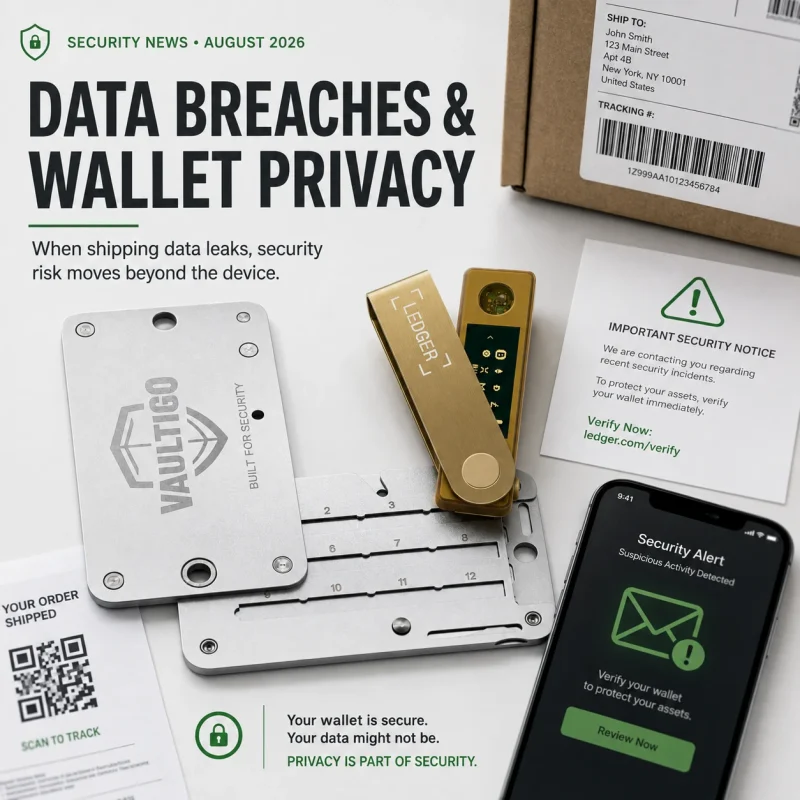
An entry-level VAULTIGO metal backup plate can be used as a secondary physical record after the original phrase has been carefully verified. Do not destroy the original known-good copy until the transferred record has been checked for accuracy.
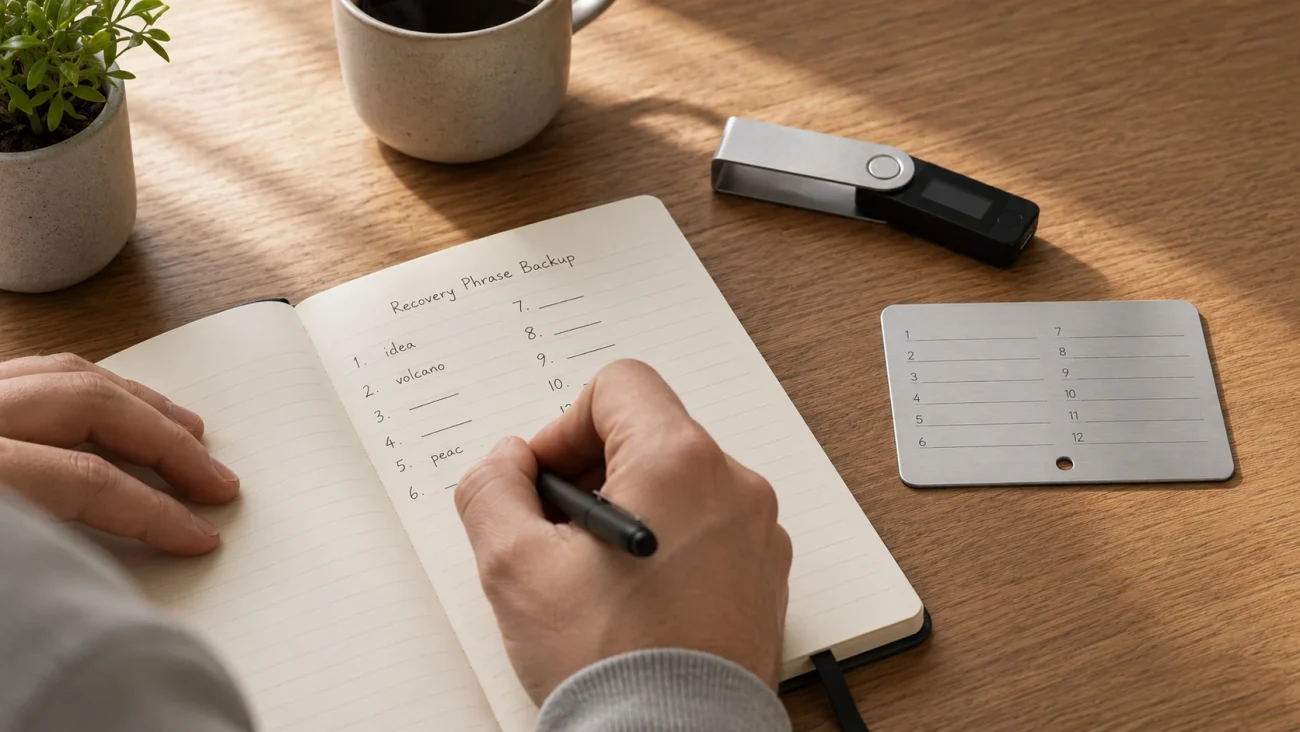
Step 6: Store the Backup Separately from the Device
Do not keep the hardware wallet and its complete recovery phrase together in the same box.
A better arrangement separates:
The hardware wallet
The recovery backup
Any optional passphrase
Recovery instructions for trusted beneficiaries
For many beginners, two complete physical backups stored in separate secure locations provide a practical balance between loss protection and exposure risk.
Examples of separate locations include:
A protected home location and a separate secure property
A private safe and a controlled institutional location
Two independently secured geographic locations
Two copies inside the same desk do not meaningfully protect against fire, burglary, or property loss.
The recovery phrase should remain private, but its location should not be so obscure that you forget it or your authorized successor can never find it.
Step 7: Install the Required Blockchain App or Enable the Asset
The exact process varies by device.
With Ledger, you may need to install the relevant blockchain application on the Nano S Plus and then add an account in Ledger Wallet.
With Trezor Suite, you may need to enable the relevant asset or network before its account appears.
For example, to receive Bitcoin, you need a Bitcoin account. To receive Ethereum or an Ethereum token, you need the appropriate Ethereum account and network support.
Installing or enabling a network does not move crypto into the hardware wallet. It allows the wallet interface to derive addresses, display balances, and prepare transactions for the appropriate blockchain.
Before transferring from an exchange, confirm:
The hardware wallet supports the asset
The wallet application supports the network
The exchange withdrawal network matches
The receiving account is the correct one
Step 8: Generate and Verify a Receiving Address
Open the account you want to fund and select Receive.
The wallet application will display a receiving address.
Do not copy it immediately.
Connect and unlock the hardware wallet, then display the complete receiving address on the physical device.
Compare the address shown by:
The wallet application
The hardware-wallet screen
The exchange withdrawal form after pasting
Ledger and Trezor both instruct users to verify receiving addresses on the trusted device display. This protects against malicious software that may replace or manipulate an address shown on the computer or phone.
Check more than the first and last four characters.
Compare several parts across the full address.
If the address on the hardware wallet does not match the address on the computer, cancel the process.
Step 9: Match the Withdrawal Network
Many assets exist on more than one blockchain.
USDT, USDC, ETH, and other tokens may be available through several withdrawal networks. The token name alone is not enough.
You must match:
Asset
Network
Address
Destination support
For example, an Ethereum account does not automatically display a token withdrawn through BNB Smart Chain, Polygon, TRON, Solana, or another network.
Even when two EVM networks use the same 0x address format, their balances and transaction histories remain separate.
Do not choose a withdrawal network only because it has the lowest fee.
First confirm that your hardware-wallet account can receive and manage the asset on that exact network.
Step 10: Send a Small Test Transaction
For a new wallet, address, exchange, or network, do not begin with the entire balance.
Send a small but practical test amount.
The amount should be:
Above the exchange’s minimum withdrawal
Large enough to remain usable after fees
Small enough that a mistake would not be financially severe
After submitting the withdrawal:
Copy the transaction ID from the exchange.
Open it on the correct blockchain explorer.
Confirm the destination address.
Wait for network confirmations.
Check the hardware-wallet account balance.
Confirm that you can identify the transaction.
The physical hardware wallet does not need to remain connected to receive crypto. The address exists on the blockchain whether the device is powered on or not.
The device will be required later when you want to authorize an outgoing transaction.
Step 11: Transfer the Remaining Balance
Only continue after confirming that:
The test withdrawal was broadcast
The correct blockchain processed it
The destination address matches
The wallet application displays the balance
You understand which account received it
Then send the remaining balance in one or more transactions according to your risk tolerance and the exchange’s withdrawal rules.
Retain the transaction IDs until every transfer has been confirmed.
Do not panic when the wallet application is slow to update. Check the blockchain explorer before assuming the crypto is missing.
Step 12: Practice Sending a Small Amount Out
A wallet setup is incomplete until you know that you can send as well as receive.
Create a small outgoing transaction to:
Another address you control
A compatible exchange deposit address
A separate test wallet
Before signing, verify on the hardware-wallet screen:
Destination address
Asset
Amount
Network fee
Any displayed contract information
Ledger advises users to compare the recipient address, amount, and fees shown by the application with the information displayed by the physical device.
Approve only when the device display matches your intended transaction.
Remember Network Fees
Sending crypto requires a transaction fee.
For token transfers, the fee is usually paid with the network’s native currency.
Examples include:
ERC-20 token on Ethereum → ETH
Token on BNB Smart Chain → BNB
Token on Polygon PoS → POL
Token on Solana → SOL
Receiving a token does not necessarily provide the native currency needed to send it later.
Keep a modest native-token balance in accounts that will need to make outgoing transactions.
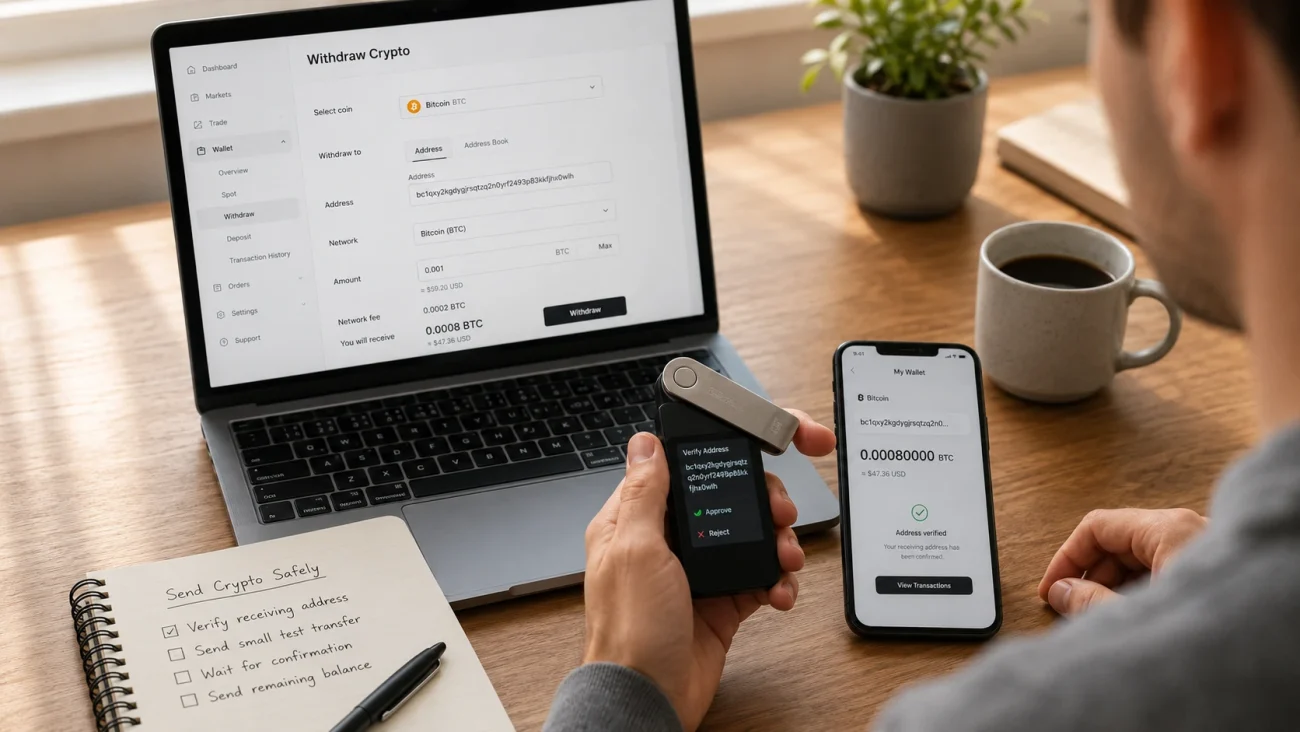
What If the Hardware Wallet Is Lost or Damaged?
The device is replaceable.
The wallet backup is what allows recovery.
When the original device is unavailable, you can generally restore the wallet using its compatible backup process on another supported hardware wallet.
The new device should derive the same underlying accounts when:
The correct recovery words are entered
The word order is correct
The correct backup standard is supported
The same optional passphrase is used
The appropriate accounts are added
Ledger states that a Nano S Plus wallet can be restored on another compatible Ledger device using its Secret Recovery Phrase. Trezor similarly explains that the wallet backup allows recovery after device loss or failure.
Do not wait for an emergency to learn how recovery works.
Read the official recovery procedure and use the manufacturer’s backup-check function where available.
Beginner Mistakes to Avoid
Using a Prewritten Recovery Phrase
A legitimate new device should generate a new backup during your own setup.
Never fund a wallet created from words supplied by a seller.
Taking a Photo of the Backup
Photos may be copied to cloud storage, synchronized devices, application caches, or deleted-file storage.
Keep the recovery phrase offline.
Sending the Full Balance First
A test transaction can reveal:
A wrong address
A wrong network
An unsupported token
An account-selection mistake
A portfolio synchronization problem
Trusting Only the Computer Screen
Malware can manipulate information displayed or copied by an internet-connected device.
Use the hardware wallet’s screen as the trusted verification point.
Selecting the Cheapest Network
The cheapest withdrawal network is useless when the receiving wallet cannot manage the asset on that chain.
Compatibility comes before fees.
Storing the Device and Backup Together
One theft or disaster can remove both your working device and recovery path.
Entering the Phrase into a Software Wallet
Connecting a hardware wallet to a compatible third-party interface is not the same as importing its recovery phrase.
Use the interface’s Connect hardware wallet feature. Never type the phrase into MetaMask or another ordinary software wallet.
Approving Transactions You Do Not Understand
Reject a transaction when:
The destination is unfamiliar
The amount is wrong
Contract information is unclear
The device shows a warning
The application requests an unexpected approval
A hardware wallet cannot protect you after you deliberately approve the wrong transaction.
A Simple Everyday Hardware-Wallet Routine
For every receiving transaction:
Open the correct account.
Generate a new receiving address.
Verify it on the device.
Match the network.
Use a test transfer when appropriate.
Confirm the transaction on a blockchain explorer.
For every outgoing transaction:
Confirm the destination independently.
Select the correct network.
Review the amount and fee.
Read the hardware-wallet screen.
Reject any mismatch.
Save the transaction ID until confirmed.
For backup maintenance:
Keep the phrase offline.
Store backups separately from the device.
Inspect physical backups periodically.
Update inheritance instructions after major life changes.
Treat any photographed or exposed phrase as compromised.
Frequently Asked Questions
Is a Hardware Wallet Difficult for a Beginner to Use?
The initial setup requires careful attention, but routine use is usually straightforward.
The most important skills are verifying addresses, matching networks, protecting the recovery backup, and reading the device screen before approving transactions.
Does a Hardware Wallet Store My Crypto?
The blockchain records the assets and balances.
The hardware wallet protects the private keys used to control the relevant addresses and signs transactions without directly exposing those keys to the connected computer or phone.
Can Someone Steal My Crypto with the Device Alone?
A stolen device is a security concern, but the PIN provides a layer of protection against direct use.
A stolen complete recovery phrase is generally more serious because it may allow the wallet to be restored elsewhere without the original device.
Move funds to a newly created wallet if you believe the recovery phrase has been exposed.
Can I Receive Crypto While the Hardware Wallet Is Turned Off?
Yes.
The device does not need to be online to receive a blockchain transaction. The sender needs only the correct receiving address and network.
Should I Keep My Crypto on an Exchange or a Hardware Wallet?
An exchange may be convenient for active trading and account-based recovery.
A hardware wallet provides direct key control but requires you to manage backups and transactions correctly.
The appropriate choice depends on how frequently you trade, your technical confidence, the amount involved, and the risks you are prepared to manage.
How Many Seed Phrase Backups Should a Beginner Keep?
Two verified physical copies in separate secure locations are a practical starting point for many users.
Creating more copies can improve availability but also creates more opportunities for theft or disclosure.
Can I Use a Ledger Nano S Plus with an iPhone?
Ledger’s current documentation states that the Nano S Plus does not connect directly to an iPhone. It is designed for supported desktop computers and compatible Android devices through USB.
Should I Buy a Metal Seed Phrase Backup Immediately?
You can complete the first setup using the manufacturer’s paper backup card.
A metal backup becomes useful when you want greater physical durability. Transfer the words carefully, preserve their order, and verify the finished record before treating it as a reliable backup.
What Happens If I Enter the Wrong Passphrase?
An optional passphrase can generate a different valid wallet rather than displaying an obvious error.
A spelling difference, capitalization change, or extra space may lead to an empty wallet. Beginners should not enable a passphrase until they understand its recovery consequences.
Can Support Recover My Wallet Without the Seed Phrase?
A hardware-wallet manufacturer cannot normally reconstruct a non-custodial wallet for you.
Support may help with software, firmware, connections, or transaction diagnosis, but it should never ask for the complete recovery phrase.
Final Thoughts
A first hardware wallet should not be treated as a device you set up quickly and forget.
The real objective is to build a repeatable self-custody process:
Buy a genuine device
Install official software
Generate a new wallet yourself
Record the recovery backup offline
Verify every receiving address on the device
Match the blockchain network
Send a test transaction
Read every transaction before approving it
Keep the device and backup in separate locations
The Ledger Nano S Plus and Trezor Safe 3 both provide guided entry points for beginners, but the brand matters less than the habits built around it.
A well-designed hardware wallet cannot compensate for a recovery phrase stored in the cloud, a withdrawal sent through the wrong network, or a transaction approved without reading the device screen.
Take the setup slowly.
Test everything with small amounts.
Self-custody becomes manageable when every step is verified instead of assumed.
Security Disclaimer
This article is provided for general educational purposes only. It does not constitute financial, investment, legal, tax, insurance, estate-planning, or personalized security advice.
Hardware wallets reduce certain private-key exposure risks but cannot eliminate phishing, malicious software, incorrect transactions, unsupported networks, physical theft, backup loss, or user error.
Never enter a recovery phrase, private key, device PIN, or optional passphrase into a website, support form, cloud service, messaging application, or unknown software.